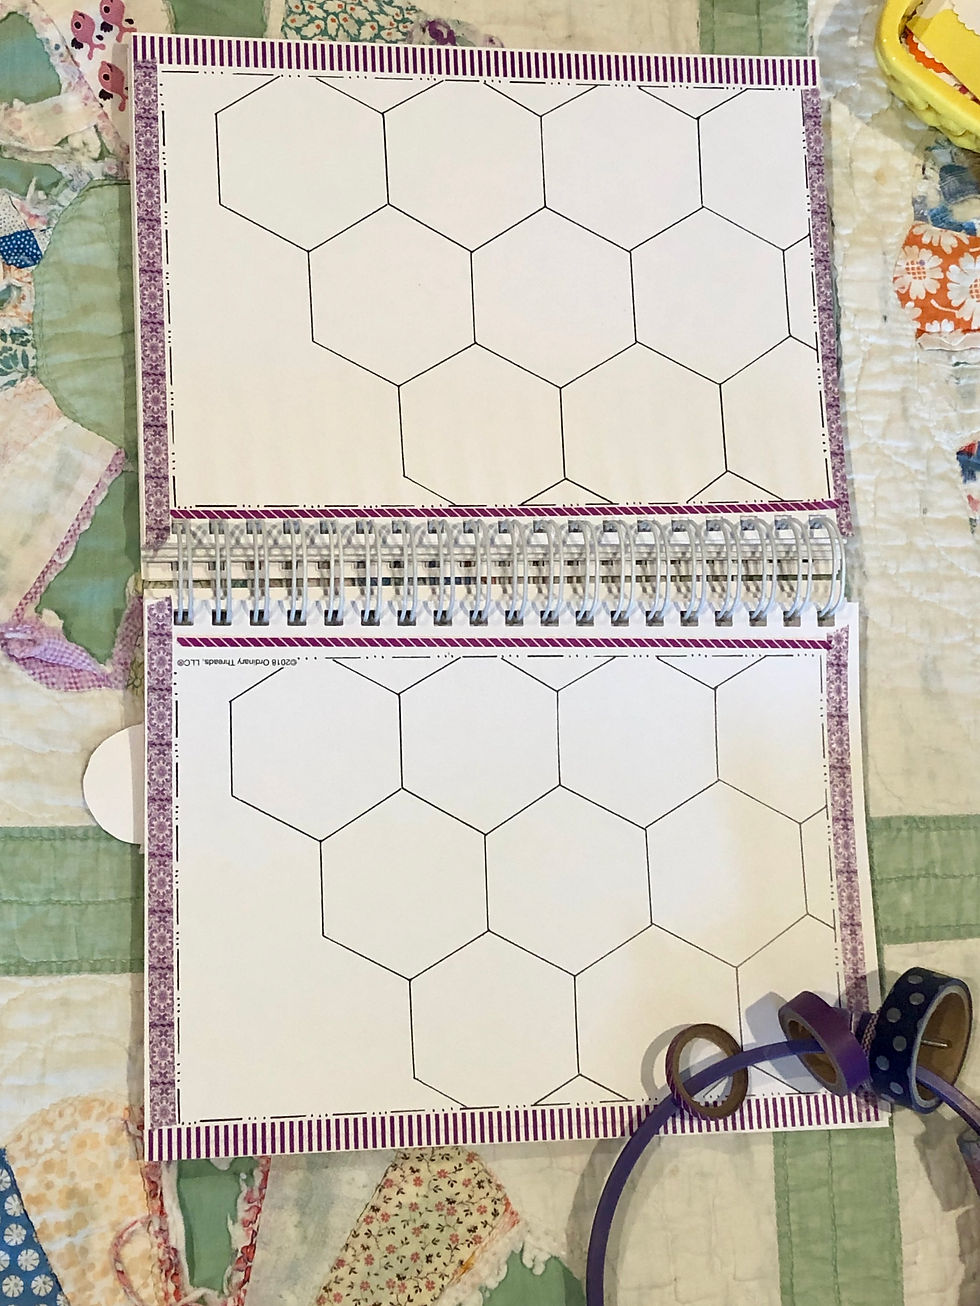
Although you can create all of your pages by hand, sometimes a particular template design will offer you some inspiration and provide you with a head-start on squares, so you can focus on harvesting your scripture verses and adding the finishing touches.

A variety of templates is available in the online shop as printable downloads. I recommend you print the templates on letter-sized card stock, then cut to fit the BQ journal page. If you trim it down to 6.5" x 9.5" this will leave space around the edges of the page to add a decorative washi tape border.
To attach the template use a glue stick to liberally apply glue all over the back of the template and press it down firmly onto the journal page. Then add washi tape to reinforce the edges.
I know many of us are visual learners, so here's a quick overview of how to attach a template to a #biblequiltjournal page:
Since the block template is already embedded in the Bible Quilt journal, you can add another block template on the facing page to create a 2-page spread. This works great for any series you're doing, providing a uniform appearance for your theme.
Similarly, you can add a honeycomb template to the facing page of the honeycomb page already in the BQ journal. Add washi tape along the edges of both pages and you've got a streamlined 2-page spread that's prepped for your verses!
I hope this helps you adapt templates into your journal. You can use the same technique to add other embellishments onto your pages.
You're invited to share your completed templates in the comment section below to give other Bible Quilters some additional ideas!
#attachingtemplates #2pagespread #honeycombtemplate #blocktemplate


